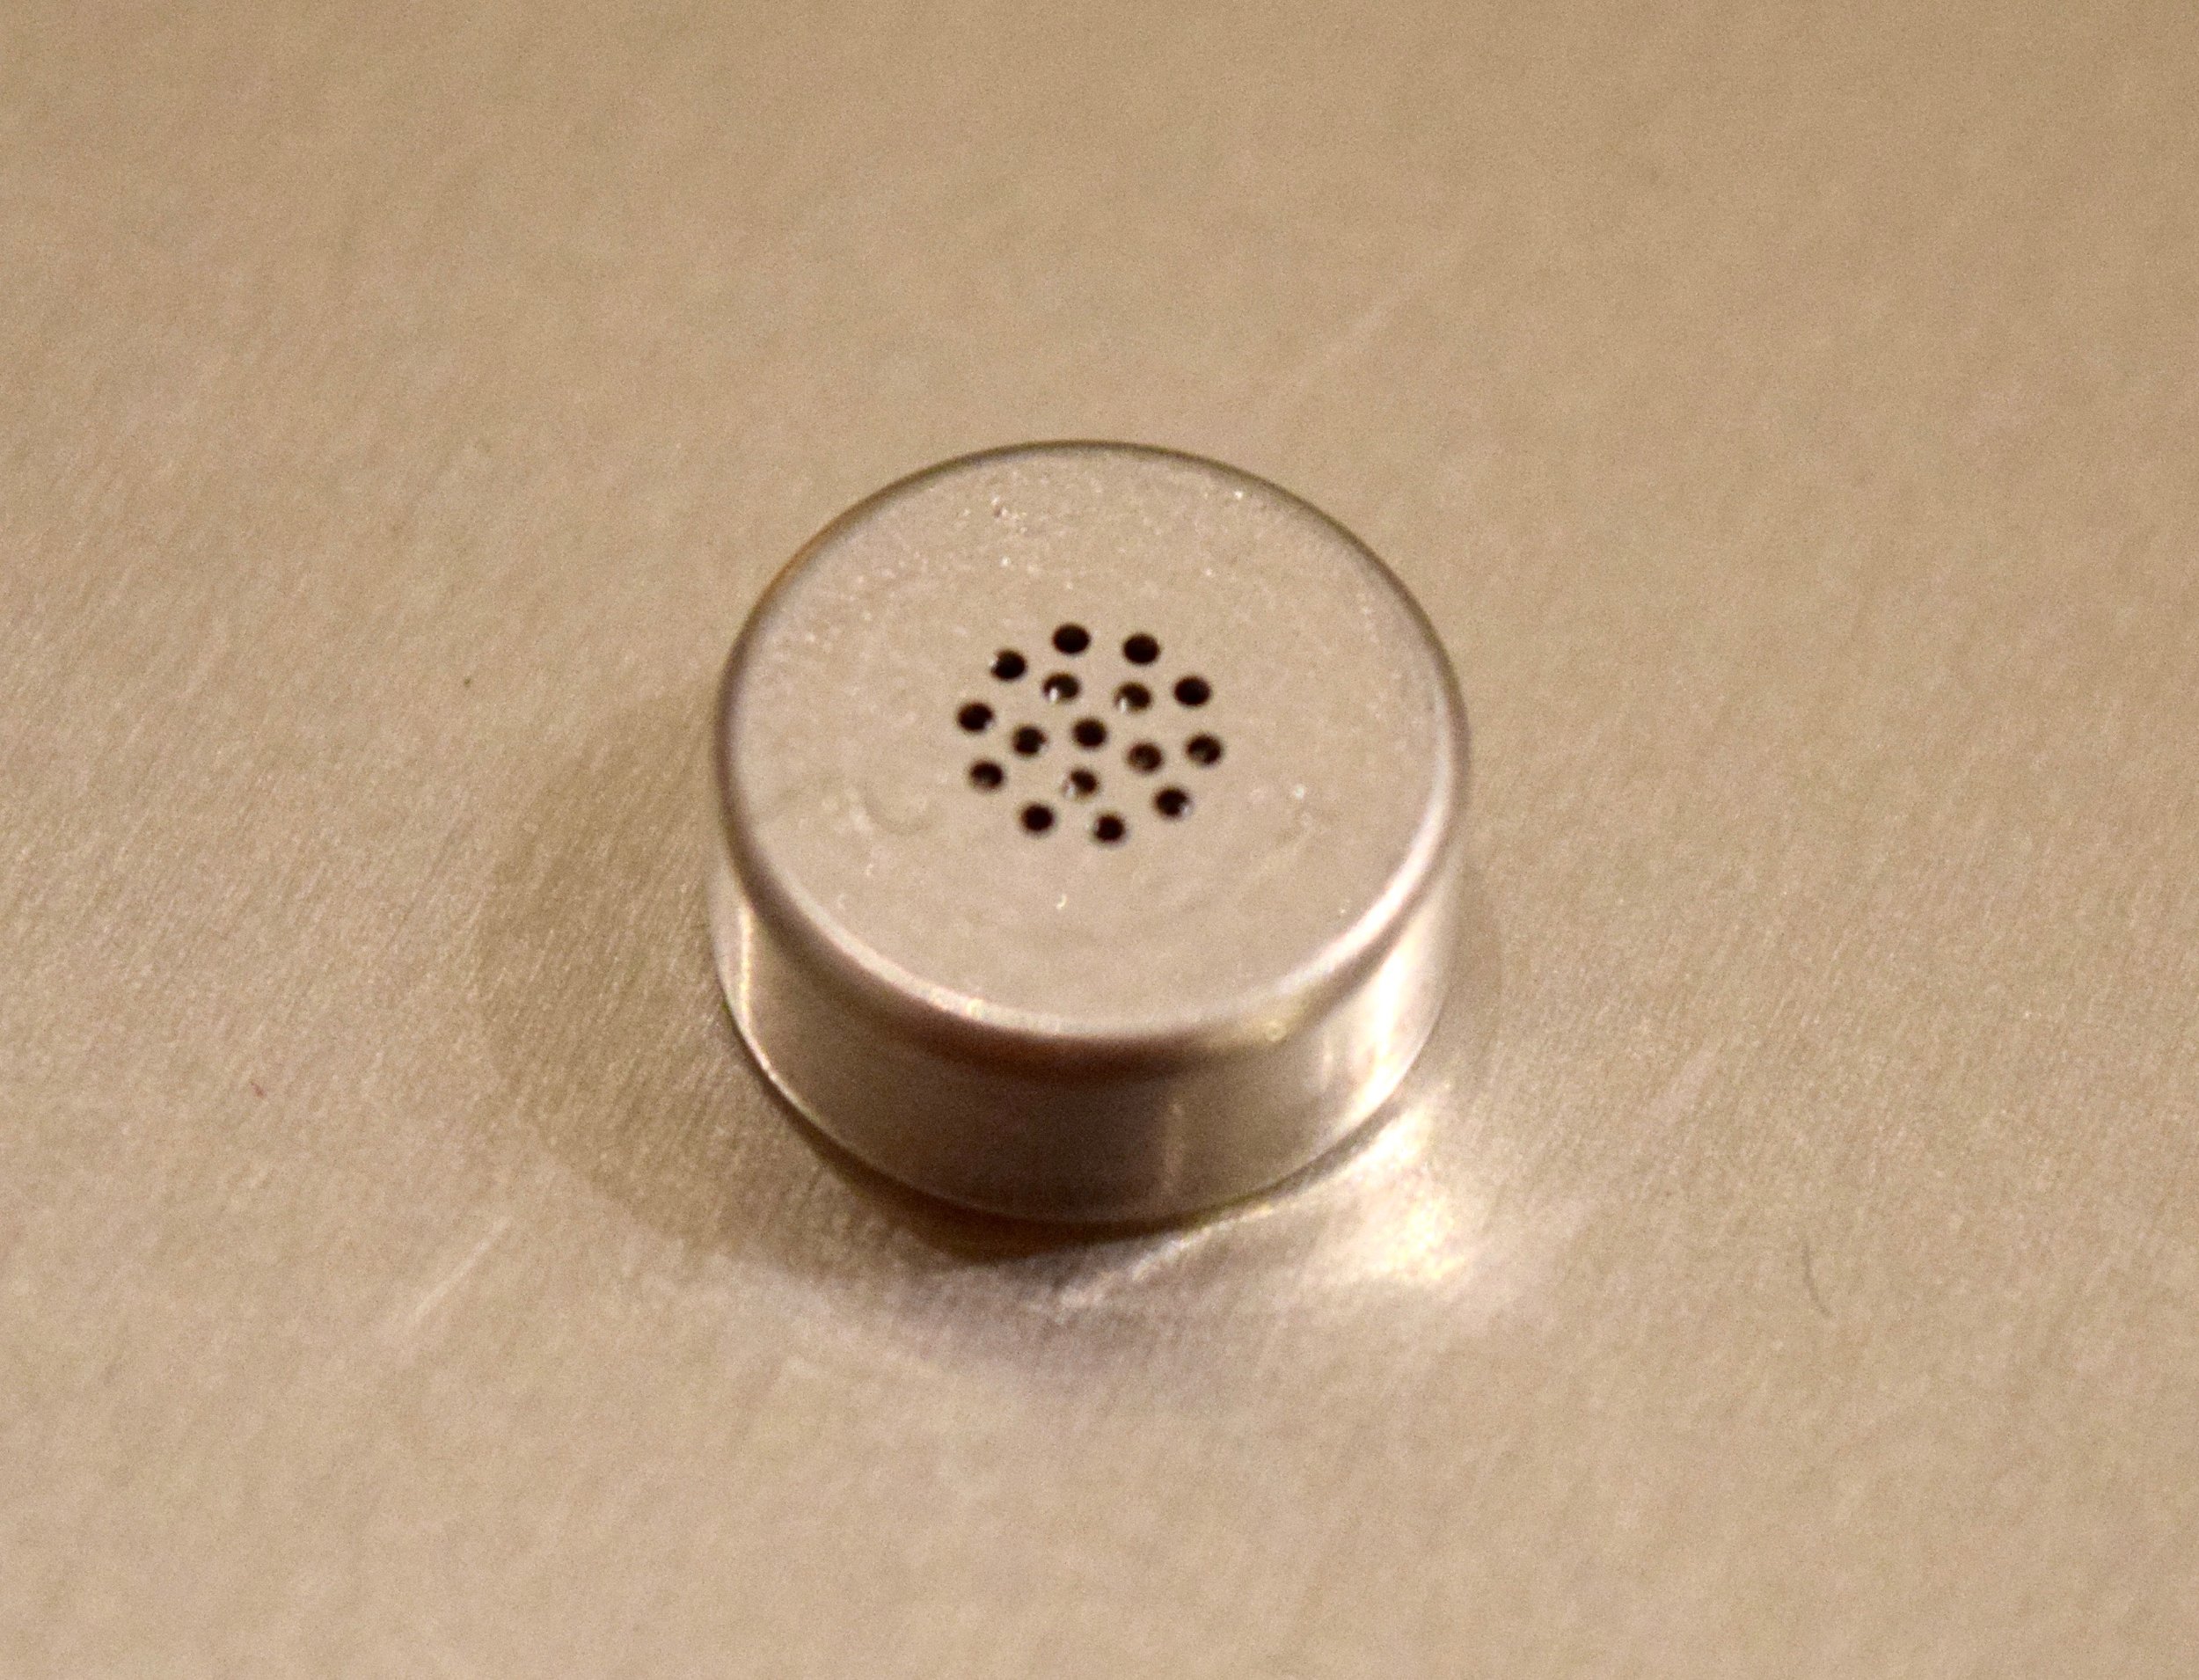
A while ago, I stumbled upon a remarkable product: the Primo EM172 omni-directional electret microphone capsule. There are a couple of people on the web that use these capsules for high quality DIY microphones and some of the reference recordings I found where quite impressive. So I did some digging.
I found a company in the UK called FEL Communications that has it on stock (among other cool stuff) for about $14 the piece and I ordered a matched pair. The capsules are plug-in powered so you can connect them to a TRS mini jack directly and they will work on almost any recorder on the market. So it just took me a little bit of clumsy soldering to hook them up to my Sony PCM-D50 handheld recorder. Here's a schematic showing the backside of the capsule:

The HOTs of the capsules connect to ring and tip of the TRS jack respectively for Right and Left and the GNDs go to sleeve.
The result was quite pleasing. For very little money you get a real quality improvement. And the possibility to record with a spaced omni setup instead of the X/Y dictated by the recorder's form factor makes a huge difference for ambience recordings. The low end response and the sensitivity to wind are pretty good - as you would expect it from a closed omni microphone.
But listen for yourself, here are two recordings on the same location. One with the Primo and one with the Sony PCM-D50s internal mics. The recording gain level is exactly the same both times:
Enclosure
Now, the only thing missing was a smart enclosure. So I took the opportunity to try something I was always curious about: 3D printing. I basically just wanted some small cylindric thing I could stick a foam windscreen on. For attaching the mics I wanted a strong magnet on the backside.
Creating a 3D model that could be uploaded to a 3D printing service turned out to be quite straight forward with Autodesks free 123D Design app. After a couple of hours learning the software and some iterations of the design I had this:

The enclosure is basically a cylinder, 14mm in diameter and 12mm in height. It has a socket for the capsule so that it flushes with the front. Inside there's some space to protect the cable against slipping out (just a knot will do) and on the back there's a recess for a neodymium magnet.
If you think about making your own version, here's the file I made with 123D, feel free to modify:
Update: Unfortunately, support for 123D was dropped. You can download an STL file for the enclosure here:
Please note: I was careful regarding the radius of the capsule socket. 3D printing tolerances apparently vary a little bit, so I wanted to make sure the Primo would actually fit. It turned out that my socket was a little too large (better than too small, though). But a little piece of heat-shrink tube around the capsule helped to make it stick.
The 123D Design app lets you export the design as an STL file so it can be uploaded to an online 3D printing service. I used a German company called Trinckle. The technique they used is called laser sintering. It produces a light and sturdy body with a soft grainy textured surface.
BTW, instead of ordering the print twice it turned out to be cheaper to print one file containing two (or more) enclosures connected with a thin bridge. At least that was the case with Trinckle.
Cable
For cable I used Mogami 2901 miniature balanced lavalier microphone cable that I still had lying around. It's thin (2,16 mm), sturdy and of very high quality. Especially the shielding seems very trustworthy. The 2901 type is actually a balanced cable, it has two internal wires and shield. For this application only one wire is needed and the ground should connect to shield. Actually, a better candidate would be Mogami 2368 wich is an unbalanced lav mic cable with only one internal wire.
The final result looks like this:
I'm extremely happy with this addition to my lightweight setup and I already used a lot of Primo/Sony recordings in movies and they worked perfectly.
So, if you're on a shoestring budget I highly recommend making a pair!
For a beginner, these plus a cheap recorder like the Zoom H1 will be enough to start building a basic sound library with a respectable quality.